Illuminating the Path Ahead: A Comprehensive Guide to Electric Bike Lights
Electric bikes (e-bikes) are becoming increasingly popular for commuting, exercise and recreation. However, riding an e-bike at night or in low light conditions can be dangerous without proper lighting. This comprehensive guide covers everything you need to know about e-bike lights to keep you safe and seen.Types of E-Bike Lighting
There are three main types of lights used on e-bikes: LED, halogen, and xenon.LED Lights
LED, or light emitting diode, lights are the most common choice for e-bikes today. Reasons to choose LED bike lights include:- Energy Efficiency – LEDs use very little electricity, putting less drain on your e-bike’s battery. They last for up to 100,000 hours before needing replacement.
- Brightness – LEDs provide very bright illumination. LED headlights and taillights allow other road users to see you clearly.
- Light Color – LEDs emit a crisp white or bluish light compared to the yellowish tint of halogens. This makes road hazards and obstacles easier to identify.
- Durability – Solid-state LEDs can withstand vibration and impacts without damage.
- Cool Operation – LEDs produce very little heat compared to other bulb types, reducing fire risks and component damage.
Halogen Lights
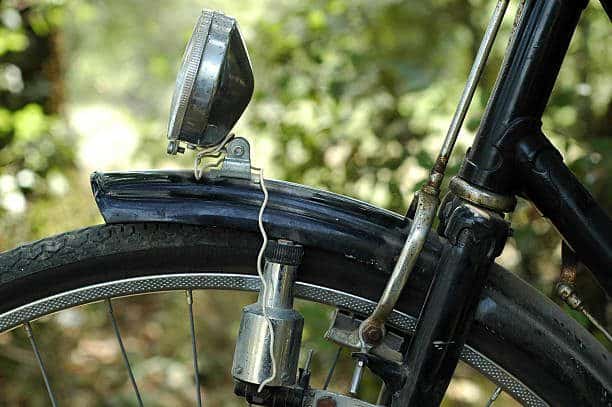
Many stock e-bikes come equipped with halogen lights. Benefits of halogens include:- Low Cost – Halogen bulbs are an inexpensive lighting option for basic visibility needs.
- Good Light Output – Halogens emit reasonably bright light for their small size and power draw.
- Easy Replacement – No special tools needed to swap out halogen bulbs.
- Short Lifespan – Most halogen bulbs last 500-1000 hours before burning out. Frequent replacement needed.
- Power Inefficiency – Halogens waste more battery energy as heat than LED alternatives.
- Fragile Glass Bulbs – Impacts can easily break the pressurized glass halogen capsule.
Xenon Strobe Lights
Xenon strobes produce an extremely bright bluish-white light in pulses, making them ideal safety lights:- Maximum Visibility – At around 100 times the brightness of a standard halogen, xenon strobes are the best way to get noticed. The intense flashing beam stands out even in daylight.
- Distance Visibility – Xenon strobe beams can be seen over 1 km away, greatly improving rear visibility to vehicles approaching from behind.
- Limited Battery Life – Average just 100-300 hours in strobe mode before burning out.
- Power Draw – Drain more battery than LEDs to achieve the high light intensity.
- Distracting to Others – The startling pulse may momentarily blind oncoming bike and vehicle traffic.
E-Bike Light Brightness
The brightness of bike lights is measured in lumens. More lumens equals a more intense beam. Here are some guidelines on e-bike light brightness:Front E-Bike Lights
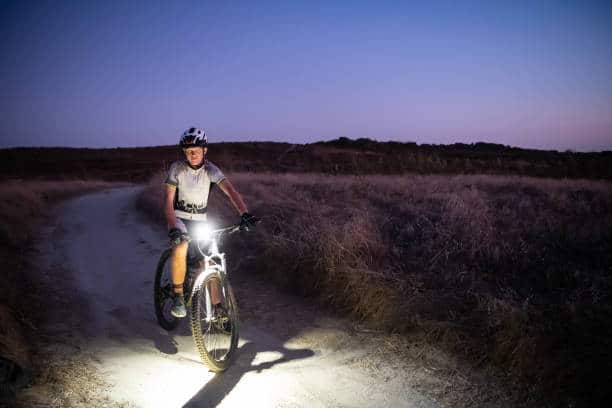
- Over 1500 Lumens – High-powered long-range LED headlights designed for mountain biking and off-road use. Useful for high speeds.
- 800 to 1500 Lumens – Bright enough to illuminate country roads. Good for riding up to 48 km/h.
- 400 to 800 Lumens – Ideal for neighborhood and urban riding up to speeds of 32 km/h. Allows you to identify road hazards well ahead.
- Under 400 Lumens – Okay for casual riding under 25 km/h speeds. Enables basic visibility of the road immediately ahead.
Rear E-Bike Lights
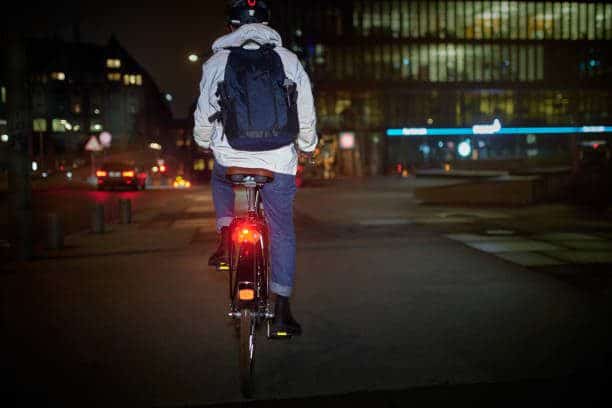
- 50+ Lumens – Excellent visibility from vehicles approaching from behind. The bright pulse catches drivers’ attention.
- 15 to 50 Lumens – Provides good visibility at night. Handy as an additional “be seen” light.
- Under 15 Lumens – Bare minimum output for basic safety visibility from the rear.
‘
So choose an e-bike light brightness appropriate for your riding speed and conditions. Brighter isn‘t necessarily better – too dazzling a strobe can momentarily blind oncoming bikes and cars.
Beam Pattern and Beam Distance
The beam pattern and distance that an e-bike light illuminates is also important. Wider beams light up peripheral areas better while narrower long-throw beams reach farther:- Wide Beam – Better for lighting up road edges, bike lanes, and side obstacles. But less reach distance.
- Narrow Beam – Focused spot beams let you see farther ahead on unlit backroads.
- Wide + Spot Combo – Some LED headlights have dual wide and spot emitters for both peripheral and distance lighting.
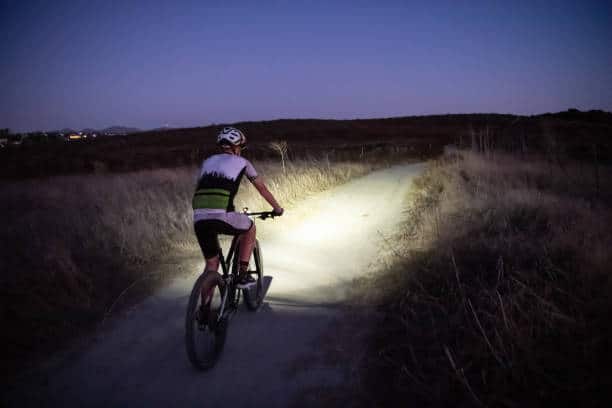
- Beam Distance – Look for lights rated for at least 30 meters of visibility for 25 km/h riding, and over 50 meters for 32+ km/h speeds.
Battery Life and Recharging
Long battery life is essential in an e-bike light to avoid getting caught in the dark with a dead light.- Battery Types – LED lights feature lithium-ion batteries that recharge hundreds of times. Avoid old-style disposable battery lights whenever possible.
- Recharge Time – Fully recharging a depleted e-bike light battery takes around 3 to 5 hours typically.
- Run Time – Expect around 90 to 120 minutes run time on high brightness levels, 3+ hours on medium, and 5 to 20 hours on the lowest flashing or steady modes.
- Fuel Gauge – Higher end LED lights have a built-in battery fuel gauge to indicate charging status. This warns you when the battery is running low.
Mounting Options
E-bike lights attach to your bike in various ways:Front Light Mounting
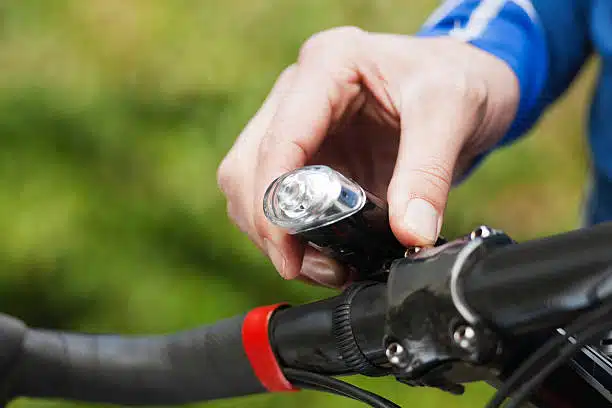
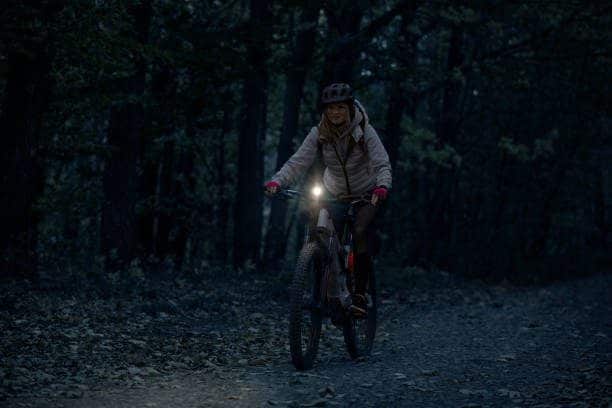
- Handlebar Mounts – Easy to install clamp brackets allow positioning the headlight for optimum road illumination.
- Helmet Mounts – Attach a headlight to your helmet instead for lighting wherever you turn your head.
- Fork Mounts – Lower front fork placement casts less shadow and offers better peripheral lighting.
Rear Light Mounting
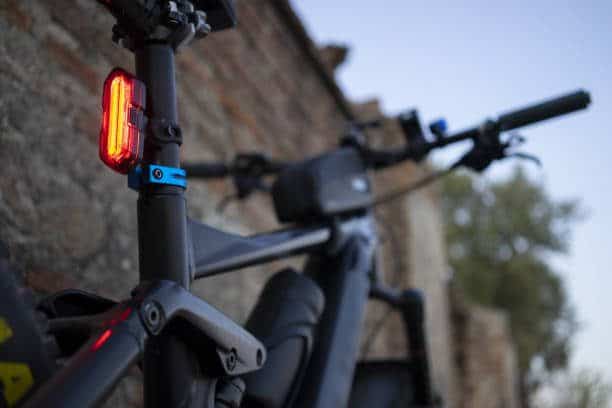
- Seat Post Mounts – Simple and secure way to attach the taillight at rear wheel height.
- Rack Mounts – Fits lights onto a rear rack for great visibility and protection from debris.
- Helmet Mounts – Also handy for rear lights to ensure constant visibility from all rear angles.
E-Bike Light Features
Along with the basics above, some e-bike lights offer bonus features:- Multiple Light Modes – Switch between steady beam and various flashing modes. Flashing grabs more attention.
- Daytime Running Lights – Low power LEDs for enhanced visibility on bright sunny days.
- Wireless Remote Switch – Allows turning lights on and off without removing hands from the handlebar.
- Automatic Light Sensor – Light automatically turns on when it gets dark outside.
- Integrated Turn Signals – Indicators make your turning intentions clear to surrounding traffic.
- App Connectivity – Bluetooth smart lights can be configured via a smartphone app.
E-Bike Light Regulations
Most areas have regulations surrounding bike lights and reflectors:- Night Riding Requirements – Riding an e-bike after dark legally requires front (white) and rear (red) lights in most jurisdictions.
- Daytime Running Lights – Some regions mandate that e-bikes have daytime front and rear safety LEDs activated whenever riding.
- Reflectors – E-bikes must have front (white), rear (red), wheel, and often side (amber) reflectors installed. These reflect car headlights and other light sources.
- Lumens Limit – A few localities restrict lumens output to avoid dangerously bright lights. Most limit headlights to 1500 lumens or less.
DIY Installation Tips
Installing new lights on your e-bike is usually straightforward. Here are some tips:- Ensure your light kit includes all necessary mounting hardware, brackets, and bands needed to attach the light(s) securely.
- Front lights mount best centered on the handlebar or angled slightly downward on the fork to avoid blinding oncoming traffic.
- Point the rear light straight back for maximum visibility. Attach to seat post just below seat height for optimal visibility.
- Make all mounting clamps snug enough not to twist or slide from vibration while riding.
- For wired lights, carefully route and fasten the wiring so it won’t catch on moving parts or get damaged.
- Sync wireless remote switches with headlights as described in the product manual. Check operation prior to riding.
- Fully charge lights before first use for maximum run time.
Riding Safely with E-Bike Lights
Quality LED lighting makes night riding safer – but you need to use proper caution as well:- Ride slower in unlit areas or when outrunning your headlight beam distance. Slow down enough to stop within the lit area.
- Use flashing modes only in dark areas without oncoming bikes or vehicles. Otherwise, use steady beam modes.
- Glance frequently at your headlight beam to gain maximum preview of road conditions ahead.
- Brake earlier anticipating hazards like potholes that suddenly appear at the headlight’s range limit.
- Wear reflective and preferably light-colored clothing to stand out in other light sources like vehicle headlights.
- Carry a backup flashlight to get home safely in case your primary lights fail unexpectedly.